“How to prepare garage floor for epoxy?” If you are considering using epoxy flooring Brisbane for garage floor, that is the first question that comes to mind. Choosing the right type of epoxy and method of application are among the most important factors in achieving a good result.
The best way to prep a garage floor for epoxy is: cleaning the area and protecting the walls, repairing the garage floor and etching the concrete before applying the epoxy.
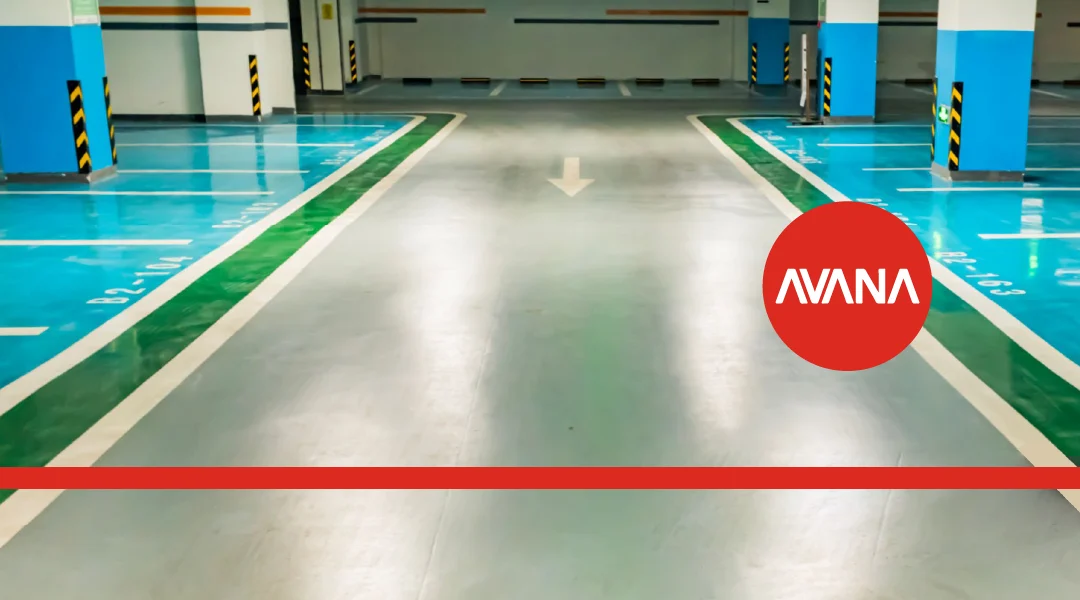
How to Prepare Garage Floor for Epoxy?
Before you jump headfirst into the world of epoxy coating for your garage floor, it’s crucial to understand that the success of your epoxy flooring largely depends on the preparation phase. If you properly prepare the garage floor, you can be sure that the epoxy will adhere well and last longer.
In addition, choosing the right type of garage epoxy flooring Brisbane is one of the most important steps. So, let’s begin the preparation steps and turn your garage floor from drab to fab. These are the most important and practical steps to prep garage floor for epoxy.

1- Clear the Area Properly
First things first! If there are any tools, storage cabinets, and vehicles in the garage, you have to remove them. If you want to protect your belongings from dust and debris, just lay down plastic sheeting.
2- Protecting the Walls Before Applying the Epoxy
If you want the walls to remain unstained, you need to protect them by taping plastic sheeting all around. Remember to only remove this protective plastic sheeting after the floors are fully dry.
3- Inspect and Repair the Garage Floor
Be careful! If there are any cracks, holes, and other imperfections on your garage floor, use a concrete patch or repair kit to fill them in. Follow the manufacturer’s instructions on the product description carefully, and ensure the repairs are completely dry before proceeding.
This step is crucial, as it prevents future damage and creates a smooth surface for the epoxy. This is how to prep a concrete floor for epoxy.
Attention: Make sure to wear protective clothing and goggles while working.
4- Clean the surface Thoroughly
First of all, sweep the entire floor to remove any loose debris. If necessary, you have to clean the surface with a shop vacuum to pick up any remaining dust and dirt. If there’s any oil or grease stain on the surface, apply a concrete cleaner or degreaser to these spots and scrub them with a stiff brush. Rinse thoroughly and let it dry!
5- Etch the Concrete
If you want to provide a better surface for the epoxy to bond with, you have to etch the concrete. Here’s how to do it:
• Prepare the Etching Solution: Follow the instructions on your concrete etching product. Mix the solution with water just as it is instructed on the product.
• Apply the Solution: Pour the etching solution onto the floor in small sections. Use a stiff bristle brush to scrub the solution into the concrete.
• Rinse Thoroughly: Once the entire floor has been etched, rinse it thoroughly with water. It’s crucial to remove all residues of the etching solution.
• Dry the Floor: Let the floor dry completely. This may take several hours or even a full day depending on the humidity and temperature.
6- Apply the Epoxy
Generally, there are two methods to apply the epoxy on the floor: rolling or spraying.
• Rolling the epoxy: This is the most common method in which you use a roller to spread the epoxy on the floor. Make sure to apply the epoxy in thin coats and avoid pooling or puddling. This method is so much easier and less messy.
• Spraying the epoxy: This method requires special equipment and professional staff. However, the result will be similar in both methods, if you’re not familiar with spraying the epoxy, it’s better to stick with the rolling method.
7- Let It Dry!
Finally, you should let the epoxy dry thoroughly before starting to use your garage again. The garage floor may be dry enough to walk on after 12 hours or so; however, it takes 7 days for the epoxy to cure and be ready for use. Do not forget to take precautions to protect the garage floor from damage.

Why Is It Necessary to Prepare the Floor First?
Do not ever forget that preparing the garage floor is the foundation upon which the entire epoxy project is built. Here are the most important reasons to prep garage floor for epoxy properly in the first place:
• Cleaning and preparing the garage floor ensures that the epoxy adheres properly to the concrete. In order for the epoxy to bond effectively, the concrete floor must be clean and rough.
• If you want to increase the lifespan of your garage epoxy floor and make it more resistant to wear and tear, prepare it first.
• Improperly prepared floors often lead to peeling and chipping, as the epoxy can’t fully attach to the concrete surface.
• Inspecting and repairing any cracks, holes, or imperfections in the concrete provides a smooth surface for the epoxy and prevents further damage.
• Preparing the floor before work ensures that the epoxy coating will have maximum resistance to stains and chemicals and lasts longer.

Necessary Tools to Epoxy your Garage Floor
Before even getting started, just make sure that you have all the necessary materials and tools. These are just as follows:
• Broom and dust pan
• Shop vacuum
• Concrete degreaser
• Scrub brush
• Paint tray
• Concrete patch
• Protective gear (gloves, goggles, mask)
• Epoxy flooring kit
• Concrete etching solution
• Roller frame
• Plastic sheeting or tarps
Golden Tips on How to Prep Garage Floor for Epoxy Coating
The table below summarizes the golden ways to make sure that the epoxy coating preparation will be done in its best condition.

In a nutshell, preparing the garage floor ensures proper adhesion, increases longevity, and enhances the overall look and performance of your epoxy coating.
FAQ
What is the best way to prep a garage floor for epoxy?
Clear the area, protect the walls, repair any holes and cracks in the garage floor, clean the surface, etch the concrete and apply the epoxy.
what are the necessary tools to prepare a concrete floor for epoxy?
Broom and dust pan, shop vacuum, concrete degreaser, scrub brush, paint tray, concrete patch, protective gear (gloves, goggles, mask), epoxy flooring kit, concrete etching solution, roller frame, plastic sheeting or tarps
Does the temperature affect the garage epoxy coating?
Of course! The best temperature to apply the epoxy for optimal results is between 60-85°F (15-30°C).
How long does it take for the garage epoxy to dry?
The garage floor may be dry enough to walk on after 12 hours or so; however, it takes 7 days for the epoxy to cure and be ready for use.
Why Is It Necessary to Prepare the Floor First?
Cleaning and preparing the garage floor ensures that the epoxy coating sticks well to the concrete floor.